Join the DC Universe with this pop art Harley Quinn makeup tutorial. Aside from being Joker’s sidekick, her edgy, yet feminine image has tickled a lot of us makeup geeks into recreating her playful look. Pop Art Grunge Harley Quinn Makeup Tutorial Get ready with this cute and fun Harley Quinn makeup tutorial… There have…Continue Reading
Join the DC Universe with this pop art Harley Quinn makeup tutorial. Aside from being Joker’s sidekick, her edgy, yet feminine image has tickled a lot of us makeup geeks into recreating her playful look.
Pop Art Grunge Harley Quinn Makeup Tutorial
Get ready with this cute and fun Harley Quinn makeup tutorial…
There have been various interpretations uploaded online, but this pop art makeup tutorial by artist Jordan Hanz tops the list. Here’s how you can get that Harley Quinn’s Suicide Squad look:
What You’ll Need to do the Pop Art Harley Quinn Makeup Tutorial:
Foundation
Concealer
Blue Eyeshadow
Red Eyeshadow
Black Eyeshadow
Mehron Water Activated Body Paint (White, Black, Red, Blue)
Step 1: Start With The Canvas

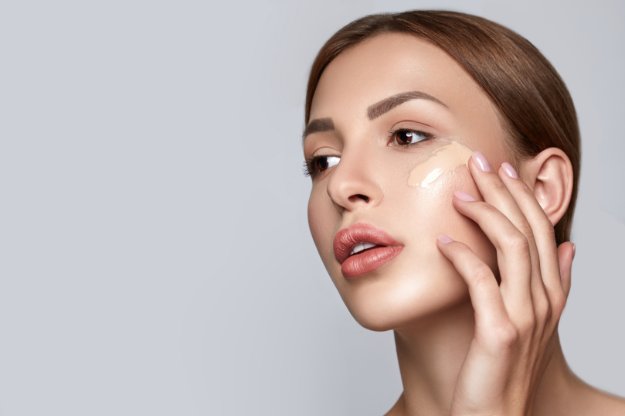
Apply your usual foundation and conceal unwanted marks. You can go lighter or darker than your skin tone. However, Harley Quinn is fair so it might be a better representation of the character if you stick to lighter shades. Don’t forget to set with a setting powder in order to keep the product in place.
Step 2: Add Dimension to Your Face
Add in your contour lines to give your face dimension. The contour will serve as a guide for the bold lines needed for this look.
Step 3: Color ‘Em Eyes!

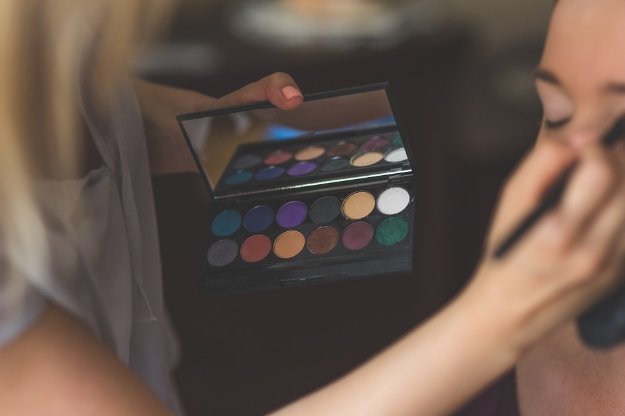
Follow with Harley Quinn’s signature pop art blue and red eyeshadows by pressing an electric blue shade to your left eye and a blue-based red eyeshadow on your right. Starting with the outer corner, concentrate the makeup pigments, and smudge towards the inner corner, sweeping down to your lower lid. Harley Quinn’s eye shadow in the Suicide Squad movie is spread out to the outer corner, but for the purpose of a grungy look, this tutorial tells you to bring it down to the where it meets your cheek area.
Step 4: Finish Your Eye Makeup by Adding in the Details
Add black pigment to your eye keeping it close to the upper and lower lash line and about halfway through. This is for the purpose of framing your eyes and giving it that big wide-eyed look just like Harley Quinn. Don’t forget to fill in your brows as your brows also frame and define your face.
Step 5: Bold Lips for the Puddin’

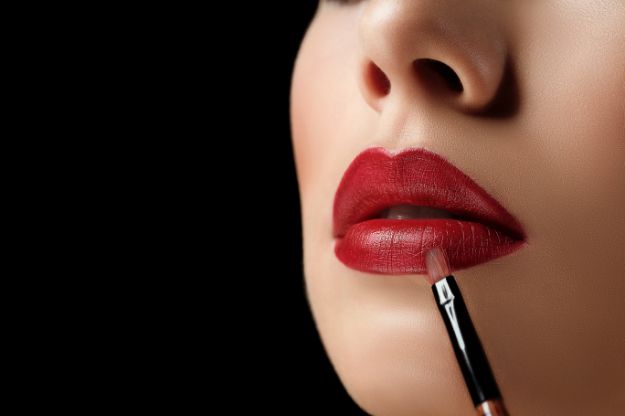
Part of Harley Quinn’s signature look is her deep red lips. Choose a deep red that matches your skin tone. To truly bring in the pop art grunge look, smudge the lip color down from the corner of your lip to your chin.
Step 6: Time to Have Fun
It is time to add in your pop art details in your makeup. This tutorial tells you to basically draw a thick black line on the border of your face and thinner lines on your lips, eyes, nose, and where contour shadow would be. Note that water activated face paints glide on easily but care is needed when applying to the eye area since the slightest hint of tears can ruin your application.
Step 7: Shadows and Highlights
Add in details like shadows and highlights to add depth. Add crosshatching lines to where your contour needs to be, to create the illusion of subtle shadows on the planes of the face and streaks of white paint where light would normally reflect to highlight it.
Step 8: Suit Up!
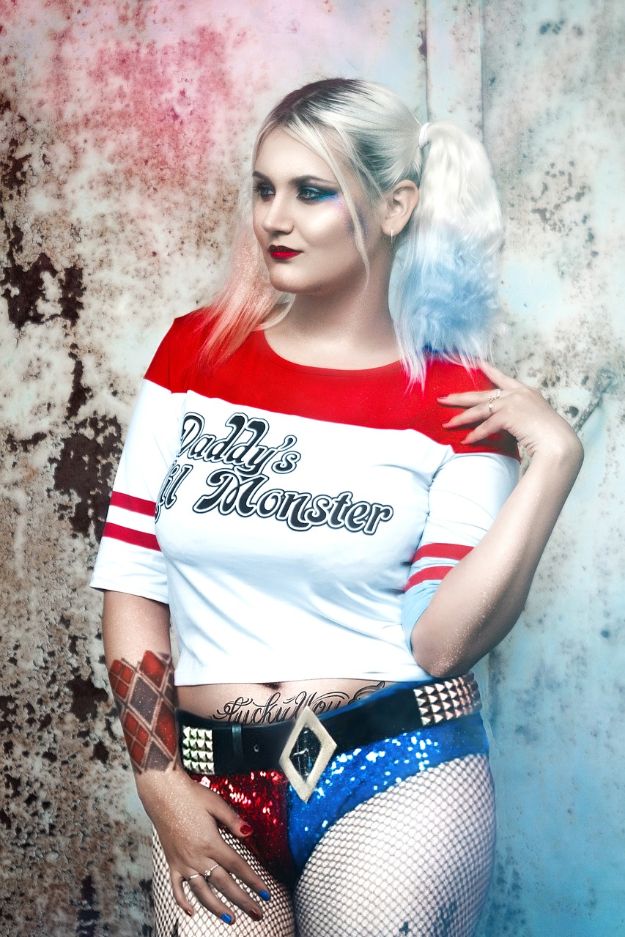
Create Harley Quinn’s red and blue shirt by using the same face paint on your body. You may have to layer the colors to make it opaque. Add shadows and highlights to create the illusion of creasing and movement on fabric.
Step 9: Crowning Glory

Finish off with a blonde wig dipped in red and blue dye and add lines where the hair part to create a more pop art grunge look.
Don’t miss the heart shape drawn on Harley Quinn’s right cheek. Keep the entire look a bit messy for a true pop art grunge look.
Add an accessory like Harley Quinn’s baseball bat and you’re ready to snap some photos.
Watch Jordan Hanz’s full Pop Art Harley Quinn makeup tutorial below:
What do you think of this amazing Harley Quinn makeup tutorial? Sound off in the comments section below!
You can also share your own version on our Facebook, Instagram, and Twitter